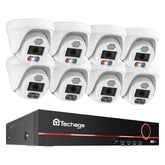
How to Install PoE IP Camera
In recent years, the security market has witnessed a surge in demand, especially within small-scale enterprises. Among the various security systems available, a notable preference is observed for POE camera systems, particularly in warehouses and businesses seeking robust surveillance solutions. This article aims to provide a detailed outline on the installation process of POE cameras, catering to the escalating need for reliable security measures.
Table of ContentsPart2: How to power a PoE security camera?
Part3 :Setup Guide : How to Install A PoE Camera
Part4: Other installation matters
Part5: Conclusion
Part1 :What is a POE Camera?
POE (Power over Ethernet) cameras are a modern surveillance solution utilizing Ethernet cables for both data transmission and power supply. These cameras streamline installation by receiving power and network connectivity through a single Ethernet cable, eliminating the need for separate power cables.
The integration of POE cameras yields several benefits, making them a favored option in contemporary security systems. POE technology simplifies installation, slashes costs linked to separate power supplies, and grants flexibility in camera placement. This flexibility allows for straightforward adjustments in surveillance layouts without the hassle of intricate wiring.
Parts :How to power a PoE security camera?
Power PoE Camera with PoE NVR

The majority of IP surveillance camera systems require a central Network Video Recorder (NVR) to manage recording, video data, and alarms effectively. Consequently, if you are already utilizing PoE cameras, we strongly suggest considering a PoE NVR to provide power for these cameras. It is a practical choice that streamlines the setup and management of your surveillance system. Refer to the diagram below for a visual guide on connecting PoE NVRs with PoE cameras.
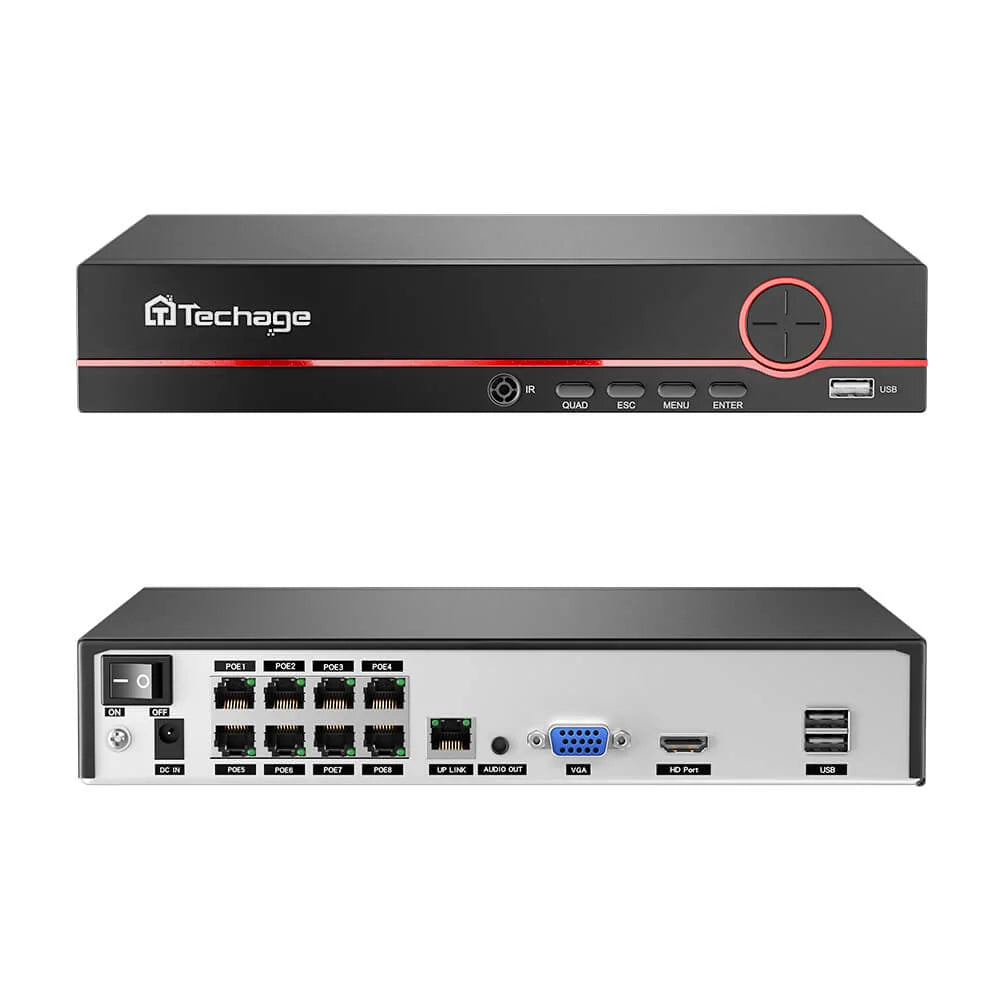
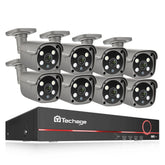
H.265 8CH POE Recorder Xmeye DVR NVR Support 5MP 8MP
NVR supports Easy PoE Installation, 24/7 Recording and P2P Technology
Learn MoreHow to power a PoE security camera using a PoE switch?
The most prevalent method involves using dedicated POE switches designed for POE devices. These switches provide both power and network connectivity, enabling the connection of multiple POE cameras through a single Ethernet cable. Typically, the ports on POE switches are distinctly labeled with 'POE' indicators.
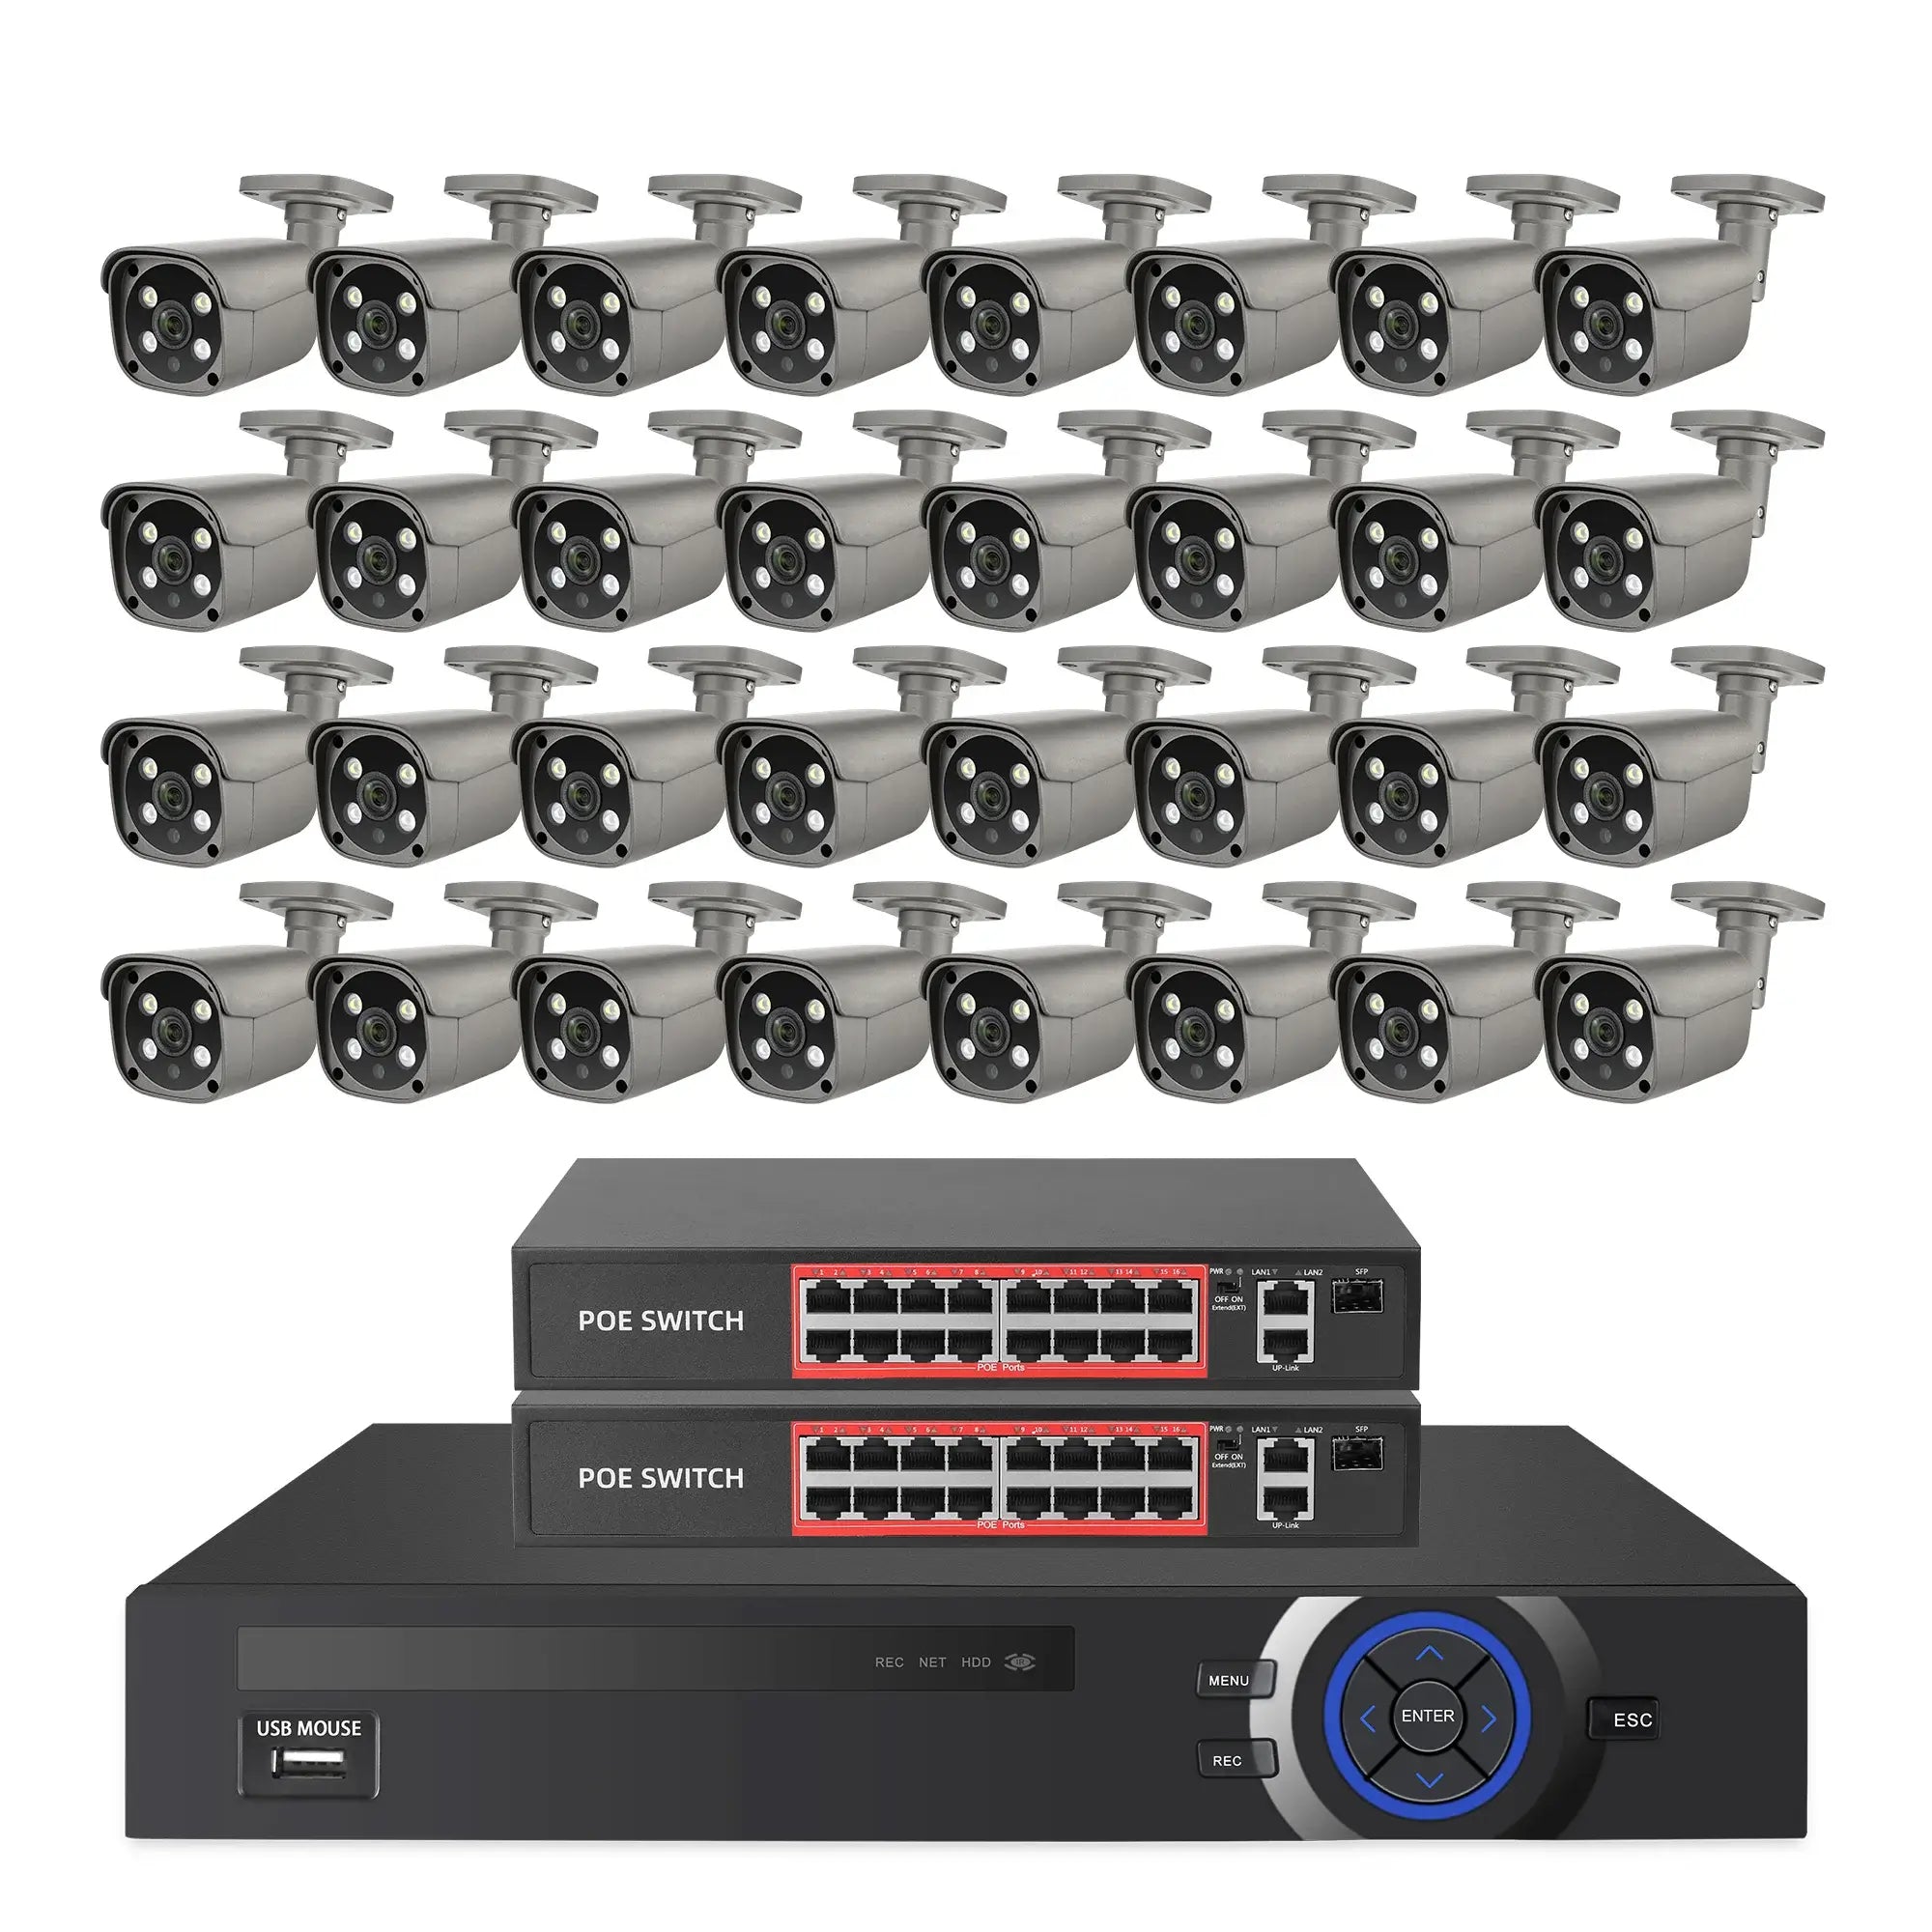
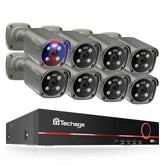
32CH Home Security System With 5MP POE AI Wired Camera
All Cameras are built-in Microphone and Speaker, Support Two-way Audio,IP66 Weatherproof
Learn MorePower PoE Camera with PoE Injector
PoE injectors perform the vital task of power injection into the router. They derive power from wall outlets, converting AC power to DC, which is suitable for PoE cameras. Integrating a PoE injector into an existing network ensures a seamless connection without compromising data integrity. This plug-and-play solution is user-friendly and safe, allowing end-users to carry out the installation process effortlessly.Illustrated in the diagram is the effective utilization of a PoE injector in tandem with a router and PoE camera.

Power a PoE security camera using a 12V DC power supply
Understanding power requirements is the most important aspect when powering security cameras. Damage as a result of using incompatible power is not covered under warranty. 12VDC power supplies will have a label that states the input and output. Ensure that the output is 12V DC, and is center-positive. If the power supply you have does not have a label, do not use it.
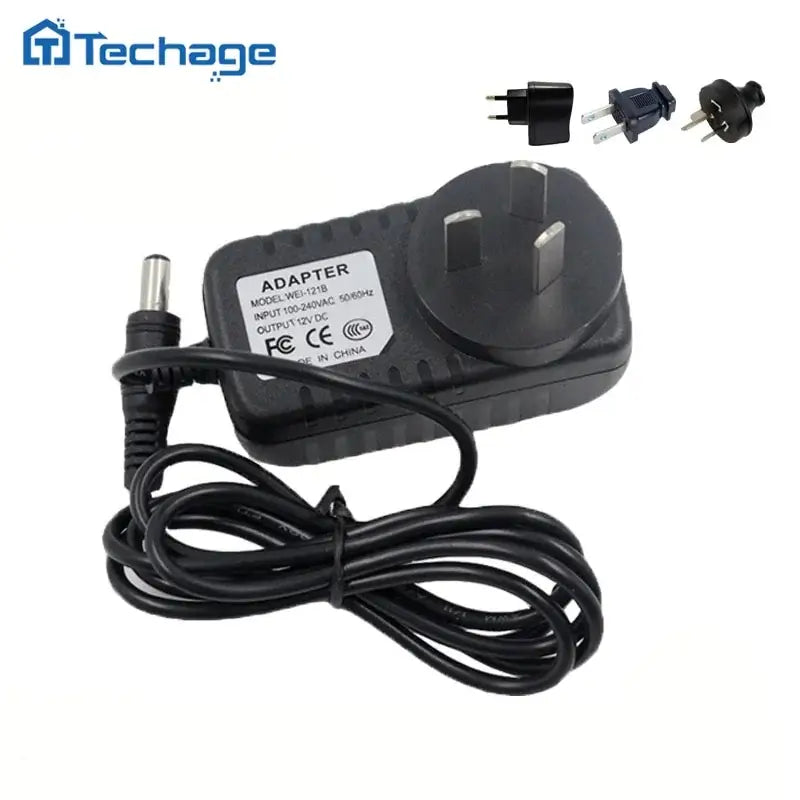
12V 1A Power Supply For Security CCTV Cameras
With a 2.1mm coaxial connector and compatibility with various electronic devices
Learn MorePart3 :Setup Guide : How to Install A PoE Camera
Pre-Installation Preparation:
quipment Gathering:
Ensure you have the necessary components
PoE cameras (normally it will provide screw bag)
PoE injector/PoE switch/PoE NVR
Ethernet cable(Cat5/Cat6)
Power adapter (if needed)
Drill
And a computer or mobile device.
Pre-Installation Testing: Before installation, conduct tests to check the Ethernet cables for connectivity and verify that the PoE devices can deliver power to the camera effectively.
Test the System Before Installation
Prior to installation, we strongly advise setting up the NVR and connecting all cameras to ensure proper functionality. This preliminary step streamlines troubleshooting potential issues. Identifying problems such as faulty cables or cameras before installation avoids time-consuming processes of dismantling and retesting installed cameras on alternate cables or performing factory resets.
Plan The Placement of the Cameras
Prior to initiating the installation process, it's crucial to strategize the camera placement. This step aids in assessing the required Ethernet cable length, determining the suitable camera type (indoor or outdoor), and establishing the optimal quantity of cameras needed.
Drilling Essential Holes
Once you've finalized the camera placements, the manual drilling process becomes essential. This step involves two distinct parts: first, creating holes for cables from the central control room to the designated camera positions, and second, drilling holes for mounting the cameras. It's crucial to ensure that the drill creates holes of an appropriate size for the cables. Additionally, it's advisable to avoid drilling into exterior walls to maintain their resilience against water, extreme temperatures, and weather conditions.
Configure NVR
Connect the NVR to a power source and turn it on. Next, complete the system set up, also called the Device Initialization. If you have a Montavue system, check out our Basic System Set Up tutorial. It does not matter if you plug in cameras before or after setting up the NVR, but if you have a PoE switch we advise to connect that afterwards to prevent any possible IP conflicts or Port conflicts.
Connect the Cameras to the NVR and PoE Switch
Link the cameras to the NVR by connecting Ethernet cables from each camera to the PoE ports on the NVR. Ensure a dedicated Ethernet cable connects each camera to the switch ports. For larger systems or scenarios involving a PoE switch, it's crucial to link the NVR to a router and then connect the PoE Switch to the same router. In an alternate setup, if the PoE Switch features dual network ports, consider daisy chaining the devices in sequence: Router > PoE Switch > NVR. For comprehensive guidance, refer to our video tutorial on Adding PoE Cameras to an NVR. It's emphasized in the video that connecting cameras to the NVR takes precedence over adding cameras from a PoE switch; follow this sequence meticulously.
Install the Cameras
After finalizing the camera positions, proceed to install them at your choosen sites, utilizing the supplied mounting brackets. Ensure proper installation by using suitable mounting hardware to securely affix the cameras to the surface.
Test the System After Instillation
Following the installation, conduct system tests to validate its functionality. Ensure clarity and accuracy in the live feed from each camera, verifying the angles of view. Perform a comprehensive check of the motion detection feature to confirm its operational integrity.
Configure the Cameras
After setting up the NVR and completing the installation, access the camera settings through the NVR interface. Customize camera settings such as Encoding, Motion Detection, AI Settings (if available), and Recording Schedule for optimal performance. For informative tutorials on Montavue cameras and NVRs, explore this YouTube channel.
Part4 :Other installation matters
Can I extend PoE camera more than 100 meter?
The distance during installation significantly impacts the power received by PoE cameras. Installing an IP camera beyond 100 meters requires extra consideration due to the transmission limitations of PoE. PoE technology operates via Ethernet cables, which have a maximum data transmission capacity of 100 meters (328ft.). Beyond this range, signal degradation occurs, affecting connection speed and reliability. Fortunately, there are solutions available to establish successful connections over 100 meters using Ethernet cables. Utilizing PoE extenders or PoE extension solutions simplifies the setup of long-distance IP security camera systems.
Not all PoE is created equal!
The Institute of Electrical and Electronics Engineers (IEEE) established PoE standards, collaborating with various vendors to address power supply challenges. PoE technology has undergone decades of evolution. It encompasses diverse standards that provide varying output powers, such as IEEE802.3af (12.9W), IEEE802.3at (25.5W), and IEEE802.3bt (71W). Typically, IEEE802.3af/at suffices for IP cameras. However, specialized cameras like pan-tilt-zoom (PTZ) models with heaters may require IEEE802.3bt PoE injectors or splitters to meet their power needs.
How much storage is needed for video surveillance?
The amount of storage needed for video surveillance depends on several factors:
- Number of Cameras: The more cameras in your surveillance system, the more storage required to accommodate the footage from each camera.
- Resolution and Quality: Higher-resolution cameras (such as 4K) produce larger video files compared to lower-resolution ones (such as 1080p or 720p). Higher-quality footage demands more storage space.
- Frame Rate: Higher frame rates result in more frames per second and subsequently larger video files. Common frame rates range from 15 to 30 frames per second (FPS) for surveillance cameras.
- Retention Period: The length of time you want to retain recorded footage greatly impacts storage requirements. Storing footage for longer periods requires more storage capacity.
- Compression: The efficiency of video compression technologies like H.265 or H.264+ can significantly affect storage needs. Advanced compression can reduce file sizes without compromising much on video quality.
- Motion and Activity: Continuous recording or higher motion levels in the recorded scenes can lead to larger storage needs due to increased data.
Part5: Conclusion
PoE technology has reached a level of maturity and safety, making it a reliable choice. Setting up an IP camera using PoE can be a straightforward DIY task once you've mastered the essential setup points. However, if you seek guidance on the necessary components for building an IP camera system, this post might provide the insights you're looking for.


