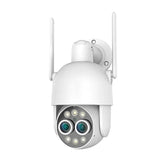
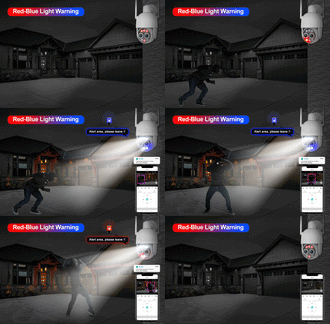
Comment installer et configurer la caméra Techage 4G CQ1H ?
Vous avez du mal à connecter votre caméra 4G Techage CQ1H à votre téléphone ou à votre ordinateur ? Ne cherchez plus ! Ce guide complet vous guidera pas à pas dans le processus de configuration de votre caméra 4G Techage CQ1H, vous permettant d'exploiter tout son potentiel pour une surveillance fluide et efficace. Que vous soyez un novice en technologie ou un professionnel chevronné, suivez-nous pendant que nous démystifions le processus de configuration et vous aidons à mettre en service votre caméra solaire 4G en un rien de temps.
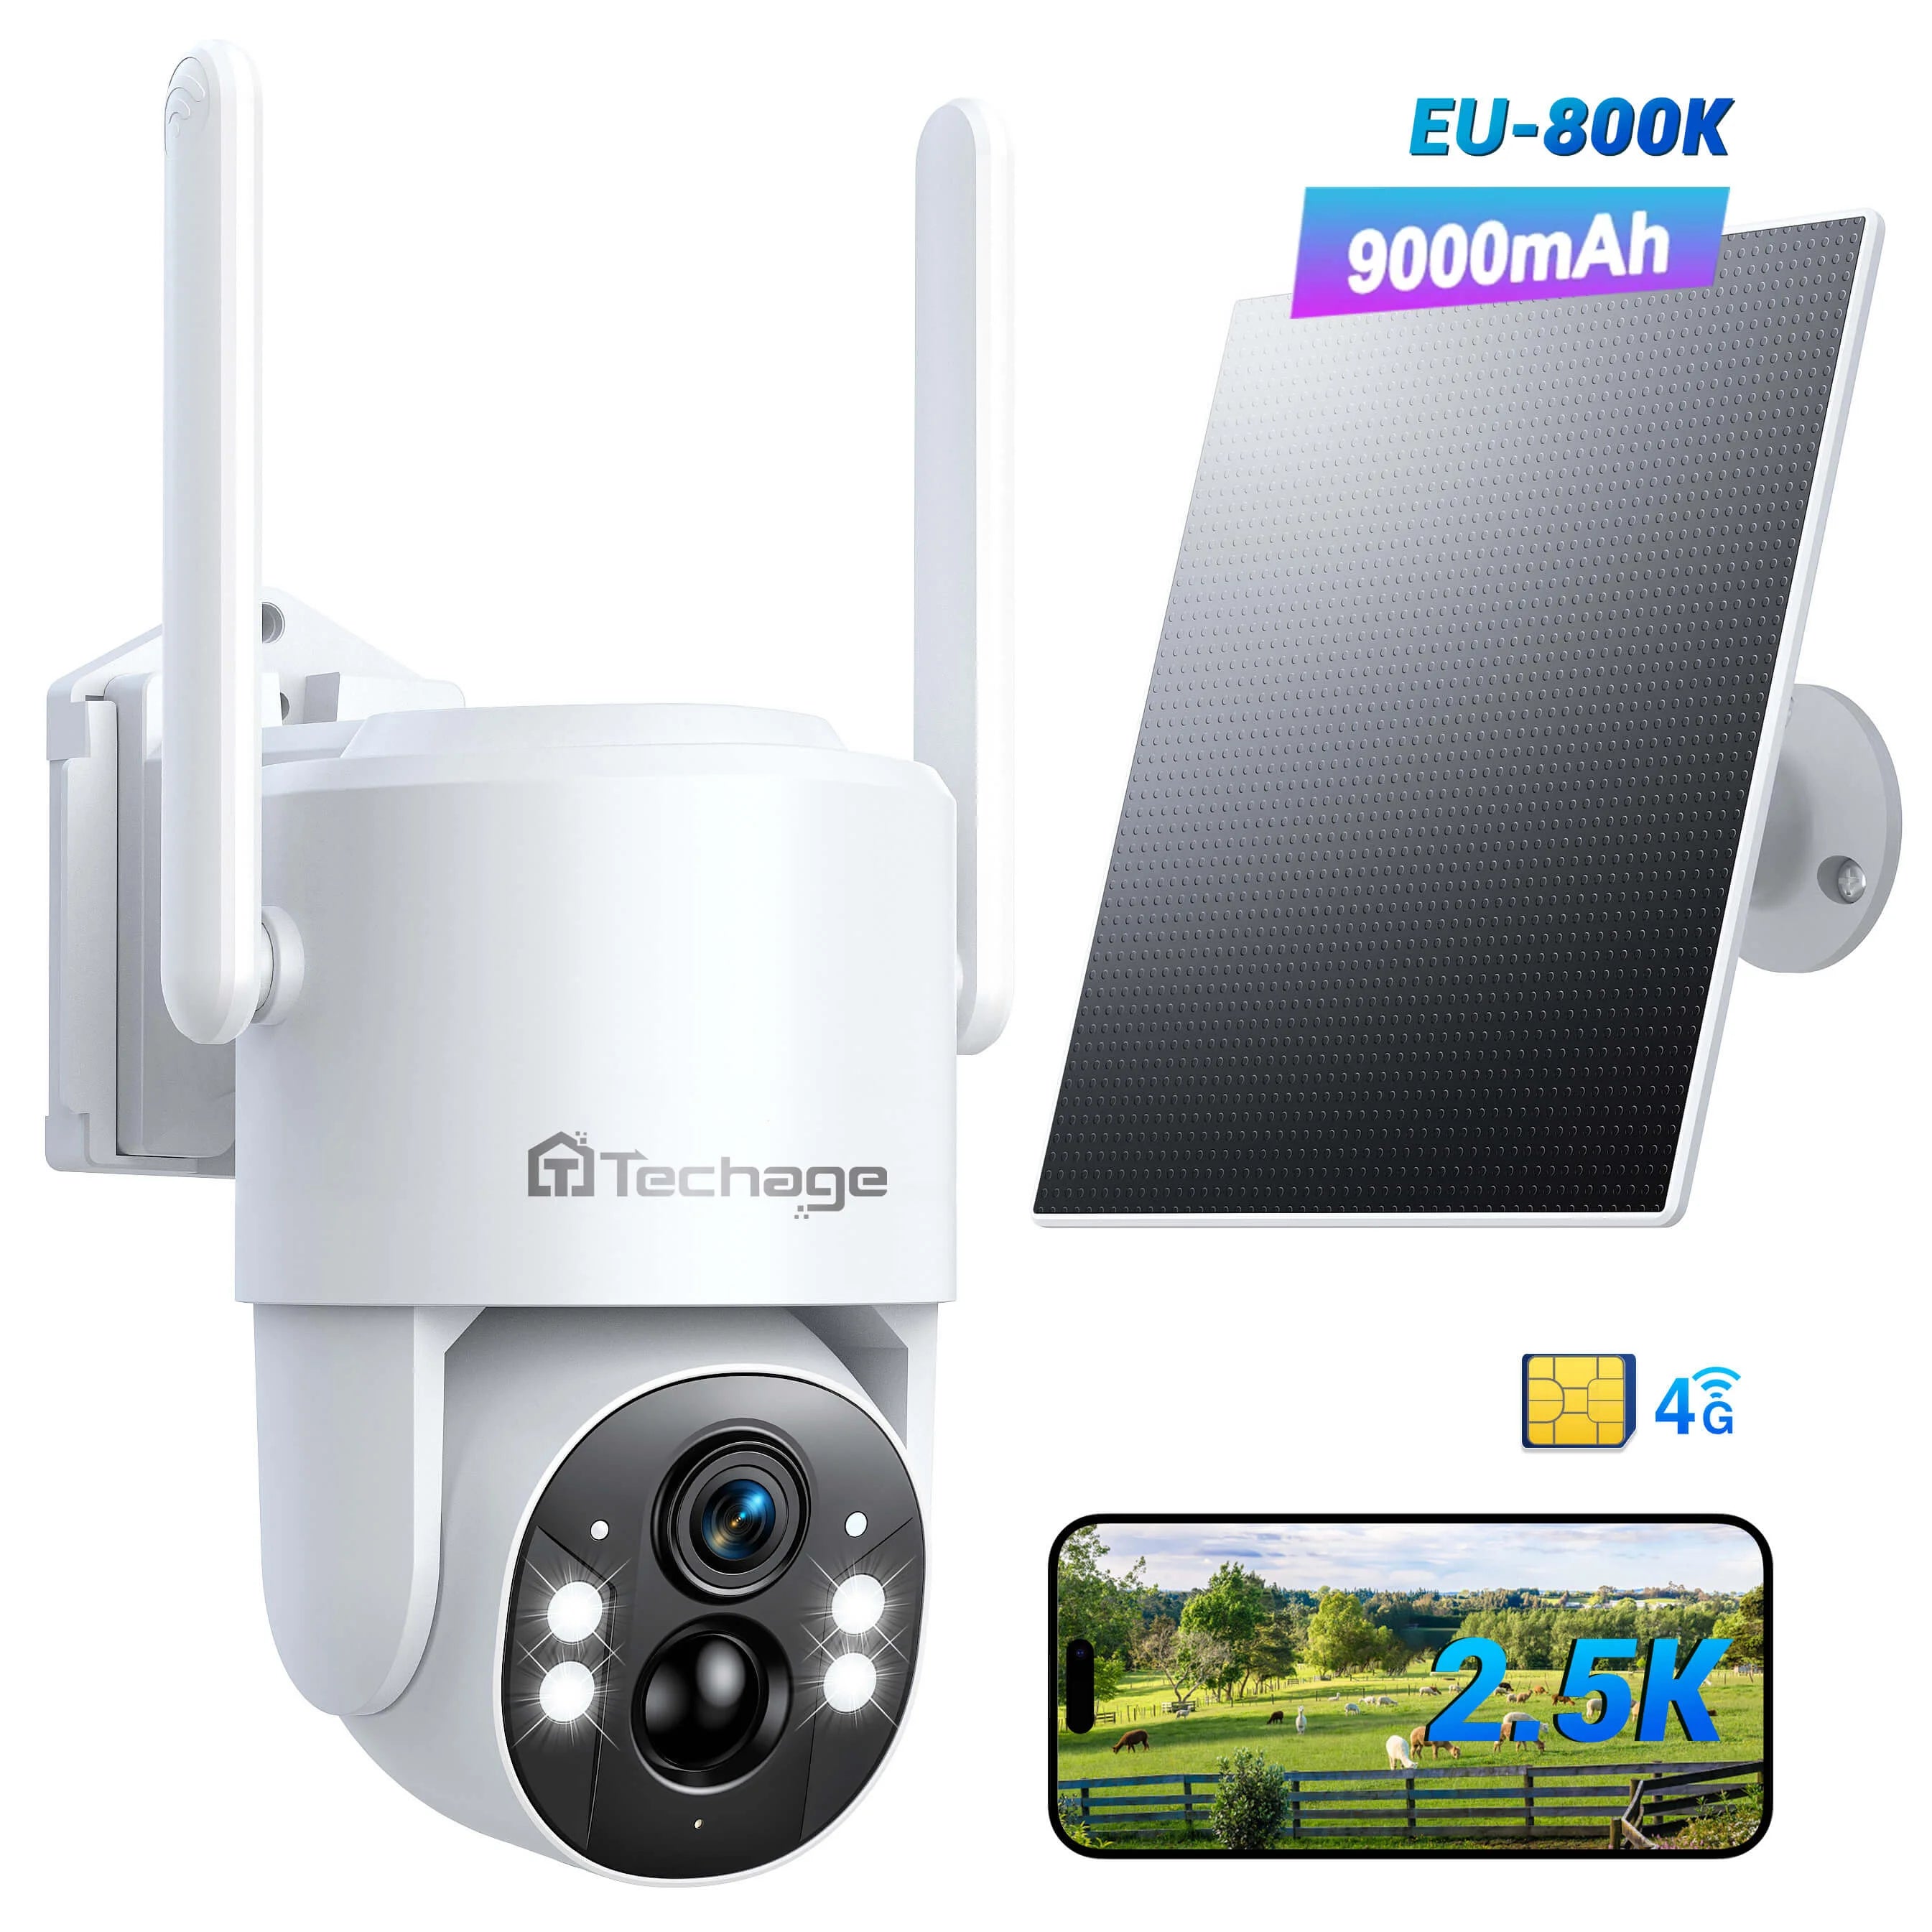
Caméra Techage 4G alimentée par l'énergie solaire CQ1H version UE
Conception 100 % sans fil pour une installation sans tracas
Apprendre encore plusDéballage de la caméra Techage 4G CQ1H
Dès réception de votre caméra de sécurité Techage 4G CQ1H, la première étape consiste à déballer et à inspecter tous les accessoires inclus.
À l'intérieur du colis, vous devriez trouver :
- La caméra Techage 4G CQ1H elle-même
- Un panneau solaire 5V pour une alimentation écologique
- Un adaptateur secteur 5V1A pour les sources d'alimentation alternatives
- Un câble de données USB vers Type-C pour connecter l'appareil photo à une source d'alimentation ou à un ordinateur
- Un support de montage mural pour une installation facile sur un mur
- Un support de panneau solaire autonome pour monter le panneau solaire dans une position optimale
Assurez-vous que tous ces éléments sont présents et en bon état avant de procéder à l'installation.
Installation de la caméra Techage 4G CQ1H

Installation de panneaux solaires :
- Supports de montage : fixez les supports de panneaux solaires à un mur.
- Fixation des panneaux : Installez les panneaux photovoltaïques à un angle de 45 degrés orienté vers le sud.
- Éliminer les obstacles : Assurez-vous que les panneaux sont exempts d’obstacles pour une exposition maximale au soleil.
- Connexion et étanchéité : connectez le port de charge du panneau solaire à celui de la caméra, à l'aide de mesures d'étanchéité.
Installation de la caméra :
- Réglage de la hauteur : Montez la caméra à 2,5 à 3 mètres du sol.
- Orientez l’objectif : orientez l’objectif à 25 degrés vers le bas.
- Régler la sensibilité : réglez la sensibilité du capteur PIR pour une détection de mouvement optimale.
Conseils supplémentaires :
- Nettoyez régulièrement les panneaux et l’objectif de l’appareil photo.
- Maintenez le micrologiciel à jour pour de meilleures performances.
- Utilisez des mots de passe forts pour plus de sécurité.
- Avec ces étapes, vous aurez votre caméra Techage 4G CQ1H installée et opérationnelle en un rien de temps.
Configuration de la caméra Techage 4G CQ1H
Après avoir installé la caméra, il est temps de la configurer.
Tout d'abord, insérez la carte SIM (si elle n'est pas préinstallée) dans l'emplacement prévu à cet effet sur l'appareil photo. Ensuite, allumez l'appareil photo et suivez les instructions à l'écran pour terminer la configuration initiale, notamment la sélection de votre langue et de votre fuseau horaire.

Ensuite, téléchargez l’application mobile Yoosee et créez un compte Yoosee en utilisant votre numéro de téléphone ou votre e-mail.
Maintenant, procédons à la connexion de votre caméra 4G en suivant ces étapes :
- Mise sous tension et réinitialisation : assurez-vous que la caméra est sous tension. Si vous n'entendez pas le son de démarrage, maintenez le bouton de réinitialisation enfoncé pendant plus de 5 secondes jusqu'à ce que vous entendiez un « bip » ou que vous voyiez le message « Réinitialisation réussie ».
- Ajouter un appareil via l'application : ouvrez l'application Yoosee, appuyez sur l'icône « + » et scannez le code QR sur le corps de l'appareil photo.
- Attendez la configuration du réseau : après avoir scanné le code QR, appuyez sur « Suivant » et la caméra configurera automatiquement ses paramètres réseau.

Lors de l'utilisation d'une carte de données externe :
Après avoir éteint l'appareil photo, insérez la carte de données avec les contacts métalliques orientés vers le bas et l'encoche alignée avec la fente. Vous entendrez un « clic » lorsqu'elle sera correctement installée (ignorez cette étape pour les appareils dotés de cartes de données intégrées).
Rappels amicaux :
Avant d'insérer ou de retirer la carte de données, assurez-vous que l'appareil photo est éteint pour éviter d'endommager l'appareil.
En cas de problèmes de réseau ou lors du redémarrage de l'appareil, débranchez d'abord l'alimentation électrique et attendez une minute avant de le rallumer.
Ensuite, ajustez les paramètres de surveillance de la caméra en fonction de vos besoins. Cela comprend le réglage de la résolution, de la fréquence d'images, de la luminosité et du contraste. N'oubliez pas de configurer l'accès à distance en liant votre compte et en définissant un mot de passe fort, ce qui vous permettra de surveiller votre propriété depuis n'importe où avec une connexion Internet.

Test et optimisation de la caméra Techage 4G CQ1H
Avant de finaliser votre configuration, il est essentiel de tester les performances de la caméra. Vérifiez la stabilité et la vitesse de la connexion réseau 4G. Visionnez le flux en direct via l'application Techage ou l'interface Web pour vous assurer que la qualité vidéo est satisfaisante. Si nécessaire, ajustez les paramètres de la caméra pour optimiser l'expérience de surveillance.
Entretien courant et précautions
Pour garder votre Techage 4G Camera CQ1H en état optimal, suivez ces conseils d'entretien :
- Nettoyez régulièrement l’objectif et le boîtier de l’appareil photo pour éliminer la poussière et les débris.
- Inspectez les câbles d’alimentation et les connexions de la carte SIM pour détecter tout signe d’usure ou de dommage.
- Maintenez le micrologiciel et le logiciel de l'appareil photo à jour pour bénéficier des dernières fonctionnalités et correctifs de sécurité.
- Renforcez la sécurité des données en sauvegardant régulièrement vos enregistrements et en utilisant des mots de passe forts.
Conclusion
L'installation et la configuration de la caméra Techage 4G CQ1H peuvent sembler une tâche ardue, mais avec ce guide, c'est un jeu d'enfant. En suivant les étapes décrites ci-dessus, votre CQ1H sera opérationnelle en un rien de temps, vous offrant une solution de sécurité fiable et efficace. N'oubliez pas qu'une maintenance et des mises à jour régulières sont essentielles pour garantir que votre caméra continue de fonctionner de manière optimale. Bonne surveillance !


